Heading www.gapilot.co.uk

Home Page

Construction Index

Build Diary 2004

Build Diary 2005

Build Diary 2006

Tools required to build


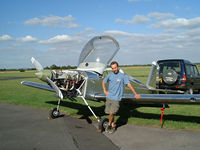
Here I am having just completed the first engine run.


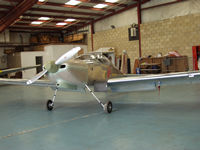
Wings on about to roll out of the
hanger for first engine start.


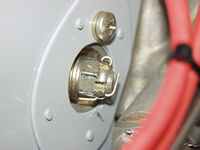
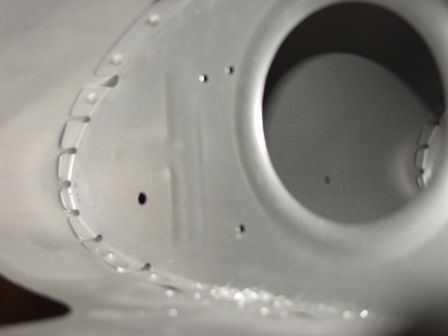
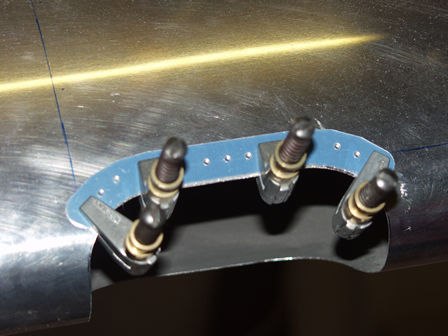
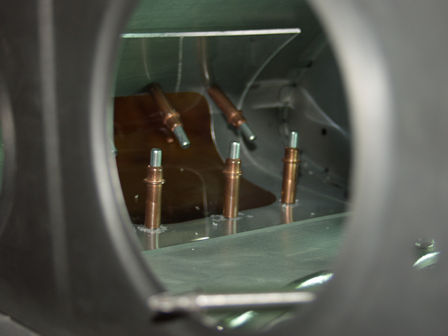
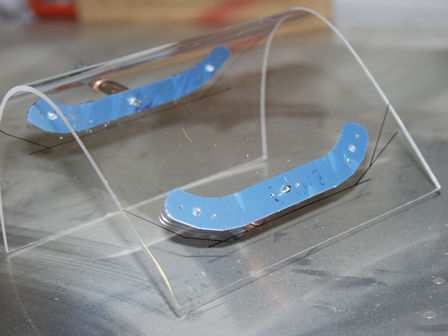
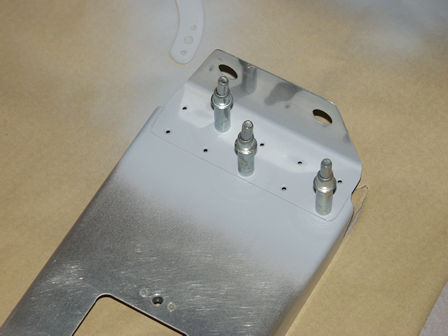
The way to fit split pins properly -
Aviation Standards!!


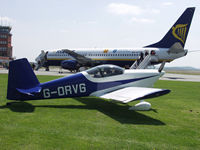
Roberts RV6, we stop for fuel on
the way to the RV fly-in at Colmar.


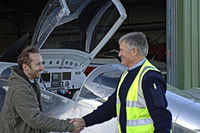
First Test flight of G-OVII my RV7 carried out by Bob Cole at Thruxton on 18th November 2006.

Fitting the Duckworks Landing light.
There are a number of different landing lights available - Vans do one that fits in the wing tip, but your wing tips must be after August 2006. Duckworks also do a high power version of this landing lamp. This is the standard halogen landing light kit.

Umm, nice unmarked wing skin!!!
The landing light goes in the last bay.
The plan - read it 10 times. Which way up?
The plan said 2.5" from the rivet seam. As I didn't want to bend my ruler around the leading edge to draw the line I used some scrap metal.
Empannage Fitting
Here I decided to tape the section to cut out on the panel rather than the other half of the plan.
Test Flight with Bob Cole at the controls
Well it's aligned. I have drawn around it. What next?
Test Flight with Bob Cole at the controls
Slightly blurred this picture - perhaps I was shaking having just cut a load of holes in my nice wing?
Test Flight with Bob Cole at the controls
Ahh, I have a big hole in my wing!!!
Empannage Fitting
A tidier hole now....


Empannage Fitting
This is a cardboard template to drill three holes - A, B and optionally C.
This is the back plate and landing light.... well actually it's a car spot lamp that I took to bits!
Three holes drilled - what is it with blurred pictures!
More holes in the skin. This time to hold the lamp lense in place. ONLY drill the middle hole for the screws. The others are for the nutplates on this part (blue) that fits behind the lense.


Empannage Fitting
Drilling the nut plate holes for the lamp holder/back.
Look I use solid rivets. The kit was supplied with blind rivets - but I have a small squeezer that would fit in the wing.
Lense in. I have plexiglass drills so I used those in a slow battery drill.
.


As you can see here the lense is big and needs trimming.
My trim marks. I have decided not to trim any off the sides.
Lamp holder fitted into wing.
The lamp lense holder comes in two parts. I have primed the joint only as I will paint it all later.


I used AD3-3.5 to fix the two parts.
Trial fit of the lense with screws.

The lamp lense holder comes in two parts. I have primed the joint only as I will paint it all later.


Lamp lense fitted to holder.
Lamp fitted in wing.

The lamp lense holder comes in two parts. I have primed the joint only as I will paint it all later.


The two plates need to be stuck to the lense, as you can't hold them in place when fitting
All fitted. Approx 7 hrs to fit.

View from below
I will be removing and painting the lamp holder and the wing cavity later.