|
 |
|
|
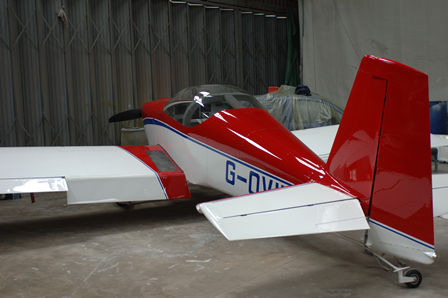
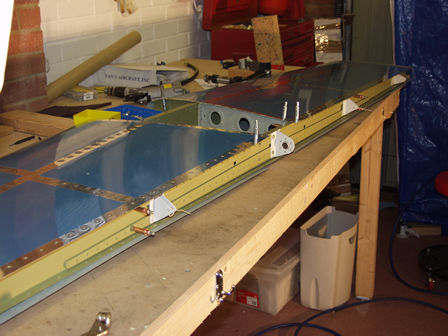
Airframe Construction - Horizontal StabilizerI purchased my RV kit from a builder in the UK and he had started on the empannage, the HS frame had been constructed. Here are some pictures of the final construction and assembly. The method of constructing the HS is to assemble and drill the assembly, strip, prime (this is where you first encounter 'primer war!') then rivet in a specific sequence. The rivet assembly - following the Vans instructions - is to rivet the centre rib forward of the forward spar. The forward spar is then fitted along with the inner forward rib and outer rib. The center (betweeen the spars) inner and middle ribs are fitted. The rear spar is fitted last. |
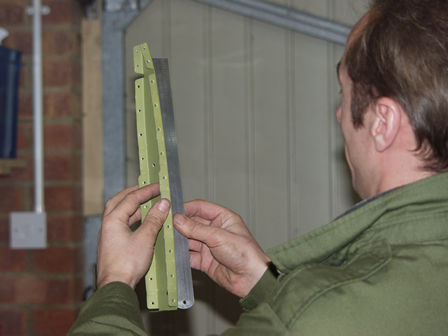
Checking the outer rib is straight.
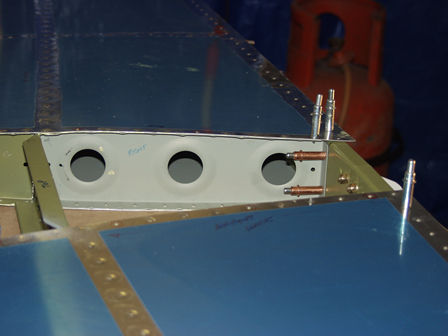
After drilling and deburring, dimpling.
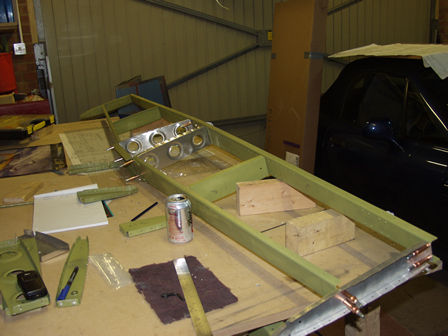
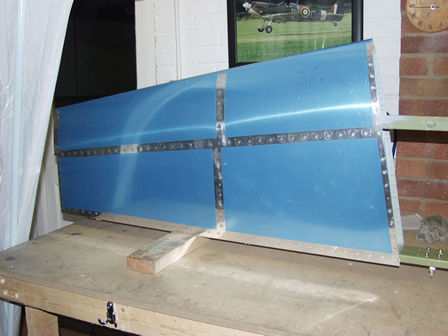
My complete assembly. After deburring, and dimpling..
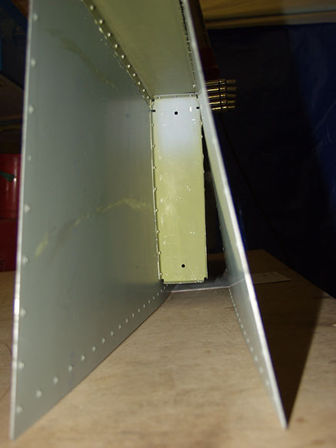
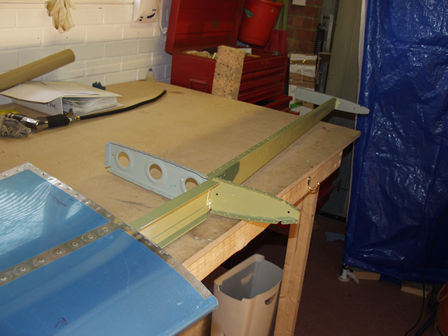
The skins need to be fitted to position these two ribs.
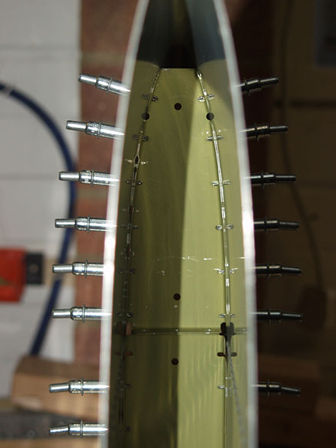
Skins fitted to HS frame, here I am fitting the inner ribs.
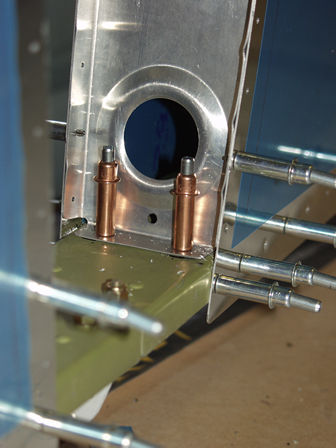
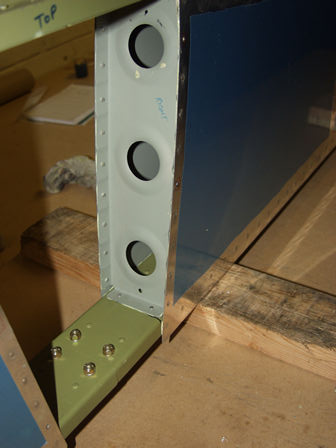
Driling this flange was tricky, I first marked and drilled from between the ribs with a 3/32" drill. Then drilled from the spar to rib with the correct 1/8" drill.
Front rib. I used a long drill to ensure the hole was square.
All the holes drilled, rivets next .
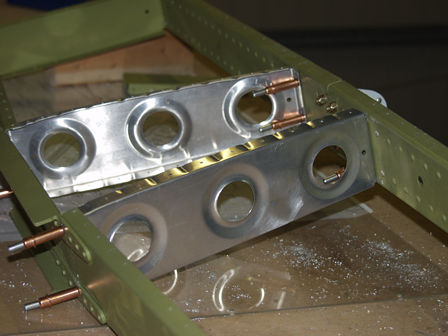
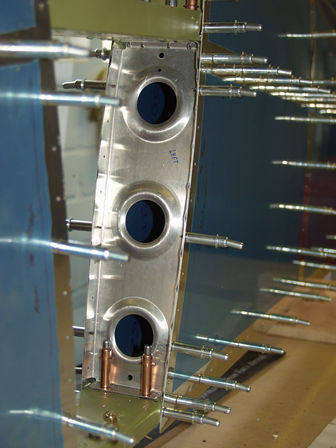
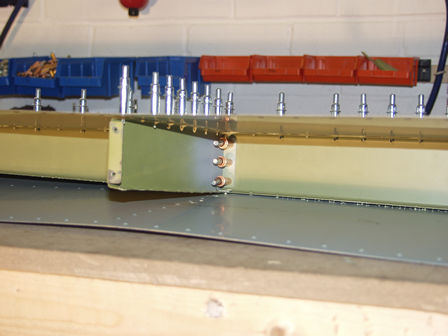
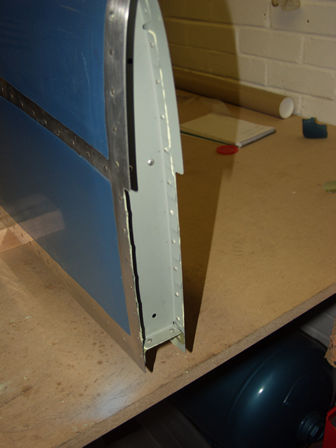
Fitting the end rib.
These end ribs are riveted with solid rivets to the centre spar before the centre spar is fitted into the skin.
Time to rivet together. First rivet the center forward rib into the skin, I clecoed the center rib in place to stop the skin opening while I riveted the front rib in place.
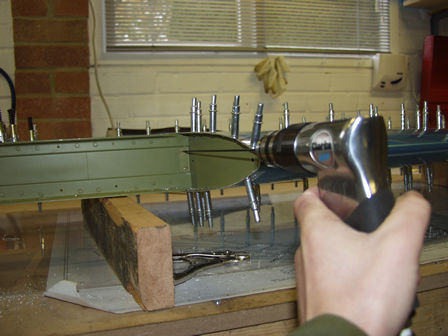
The centre rib being riveted in place.
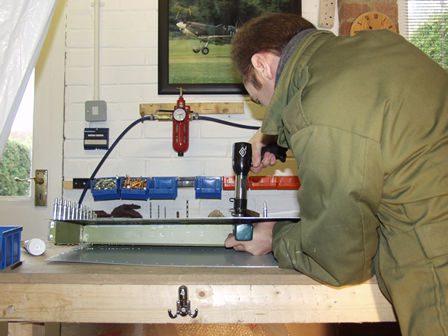
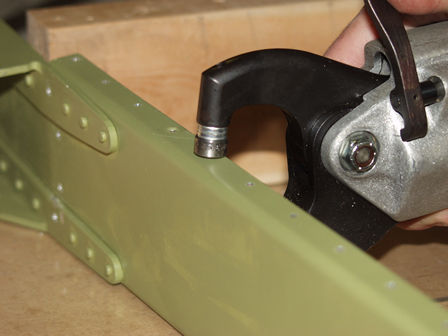
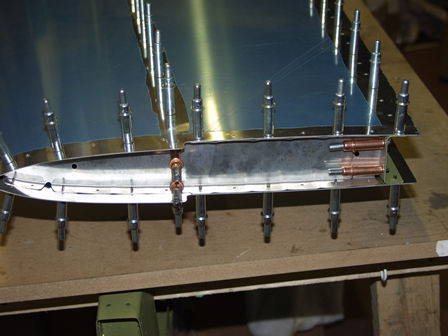
Here I am riveting the forward spar in place.
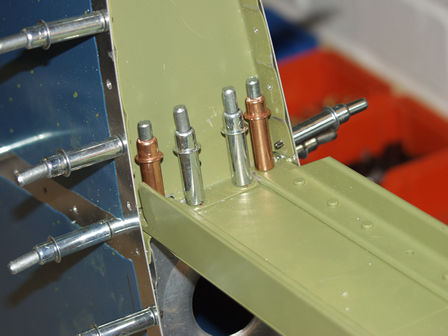
After fitting the front spar the centre rib is fitted.
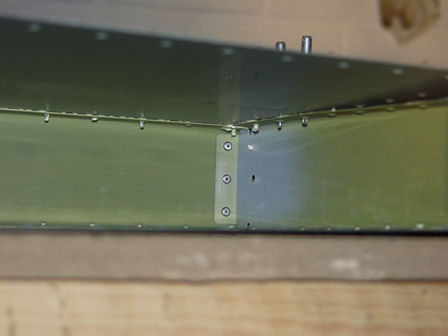
The centre rib is blind riveted through the front spar to the front centre rib.
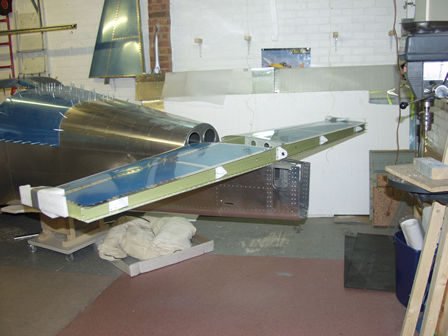
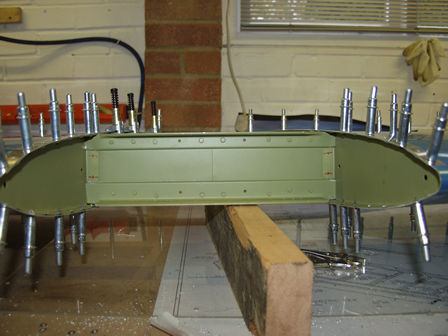
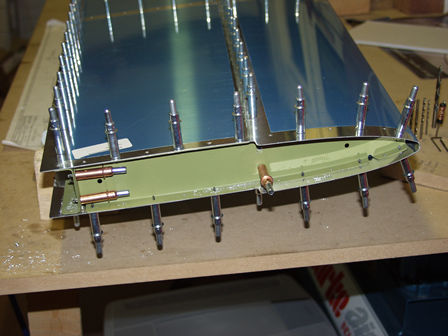
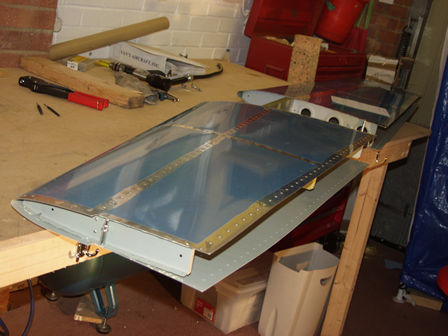
Taking shape.
Gradually taking shape. I didn't rivet the inner ribs (as you can see in picture above) until I had the rear spar in place as I was able to still get to them with the spar in place.
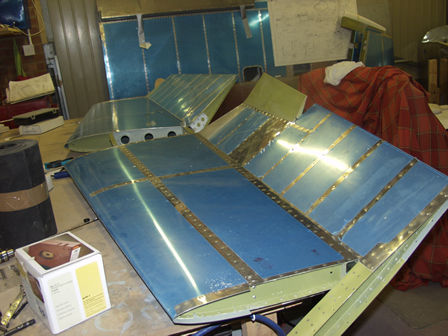
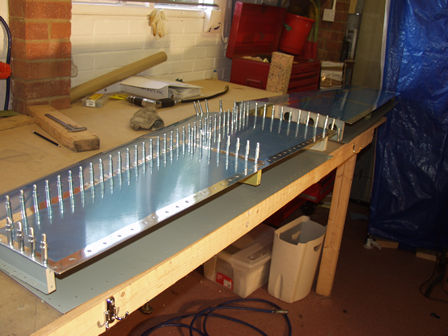
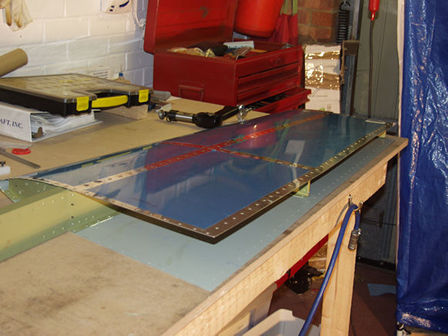
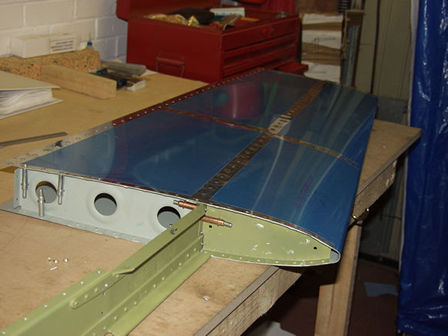
The front spar before fitting the skin.
Both skins are now fitted to the front spar. Rear spar next.
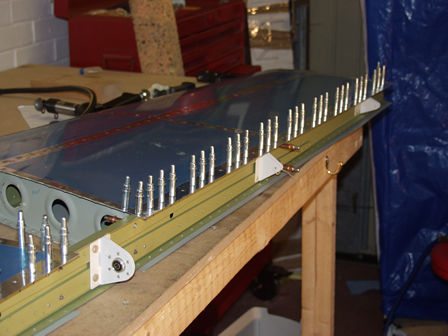
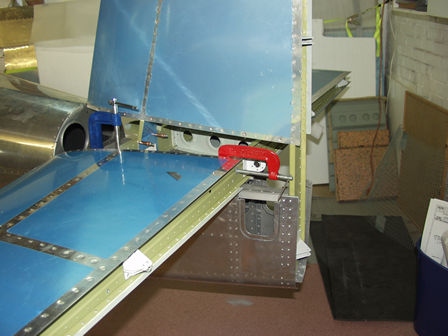
Rear spar being riveted into place.
I painted the canopy frame before fiting the plexis.
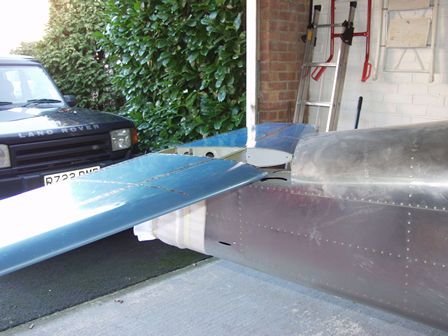
Completed HS .