Heading www.gapilot.co.uk

Build Diary 20-August-05


Jo is away today at the V festival, so I have the whole day to myself. It's RV time and I hit the workshop at 10.30 and come out at 9.30 in the evening!

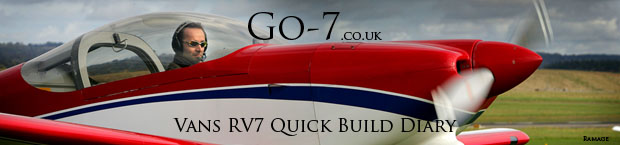
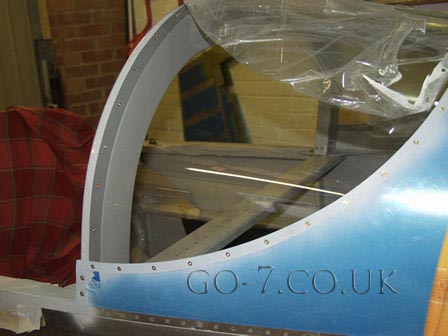
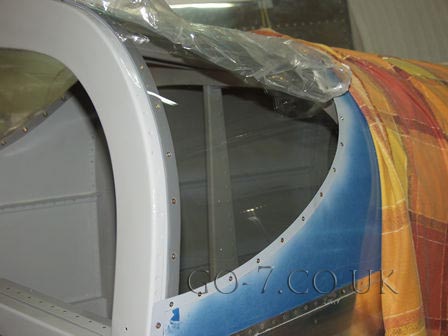
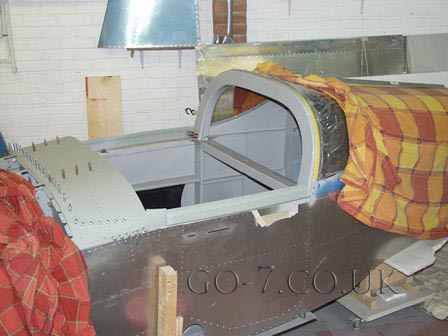
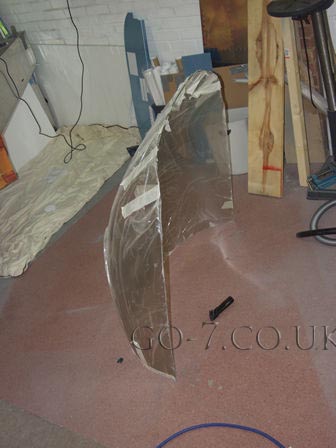
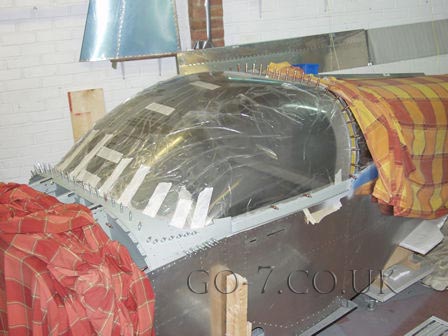
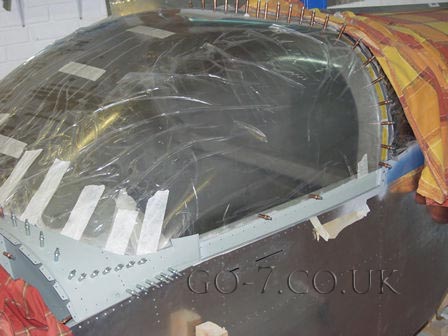
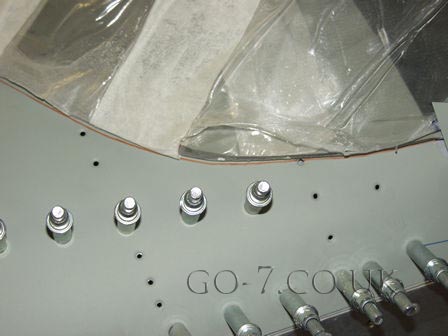
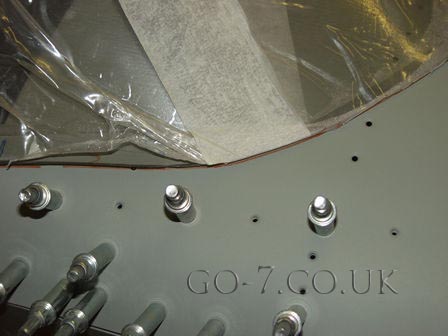
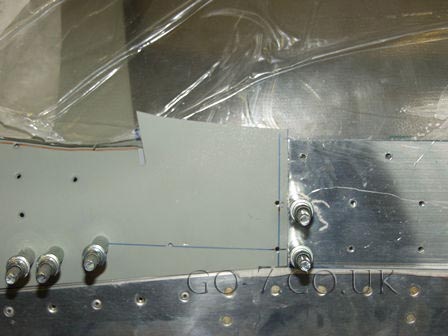
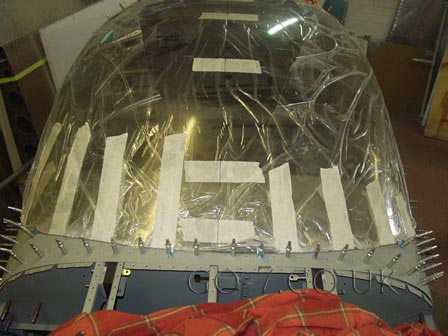
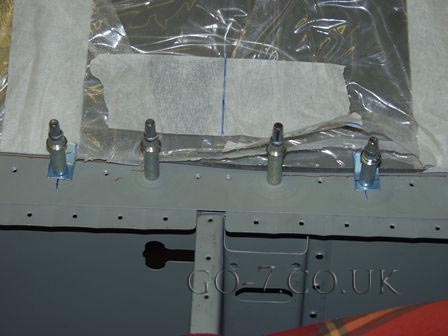
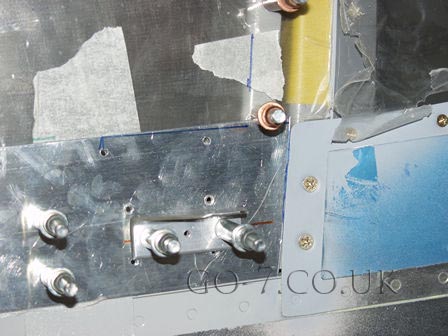
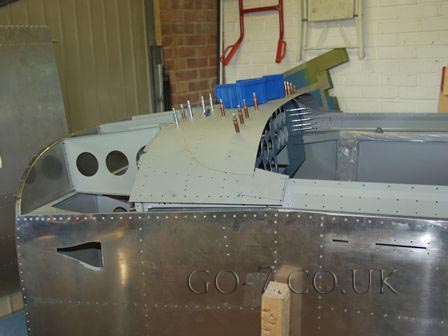
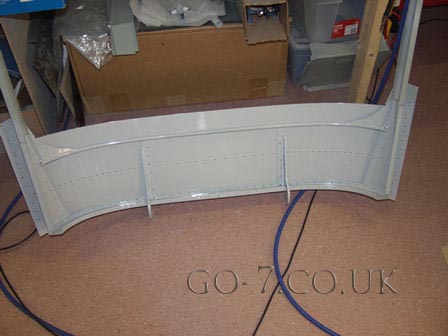
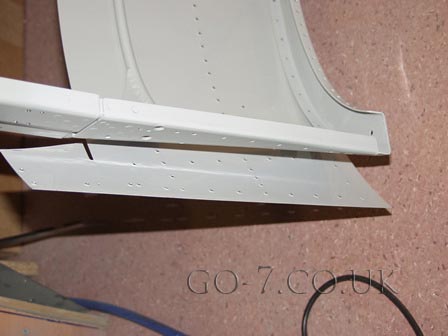
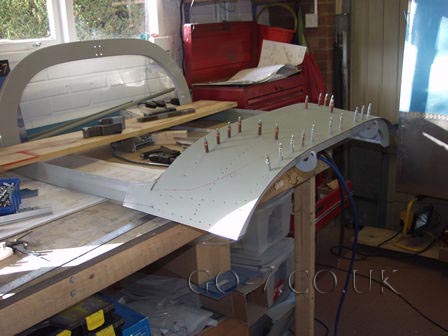
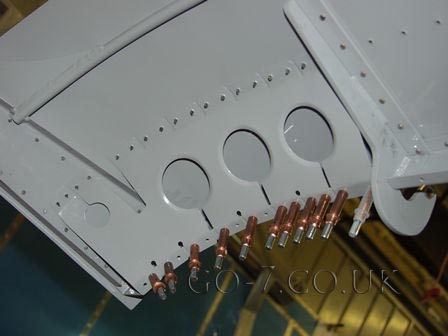
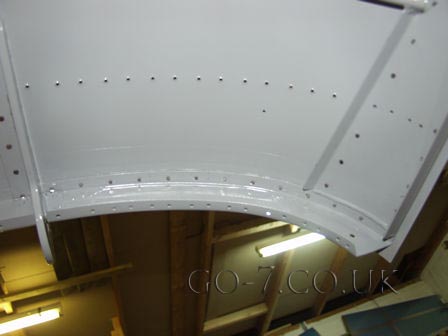
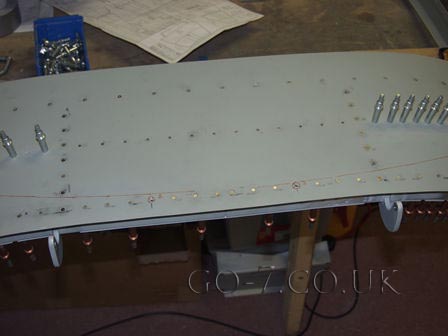
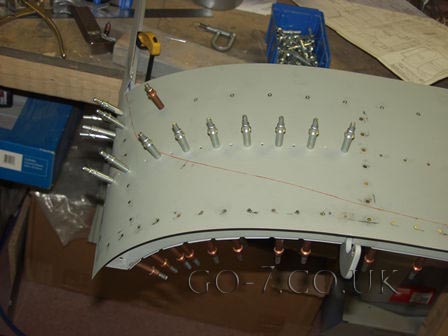
So the mission was the canopy. It went on and I made the replacement side panels, and completed drilling all the holes in the perspex. I decided to countersink the perspex with it on the frame. 
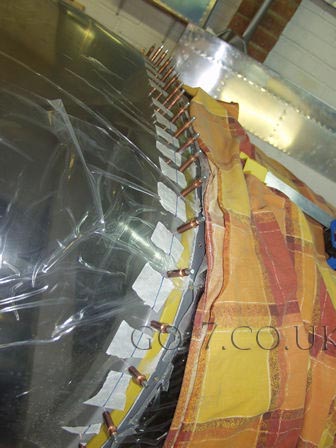
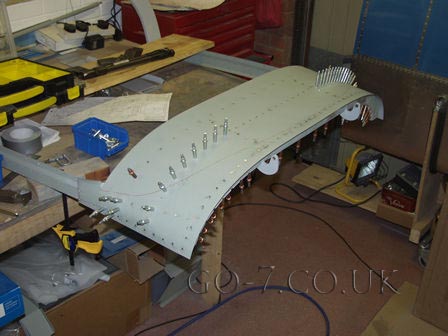
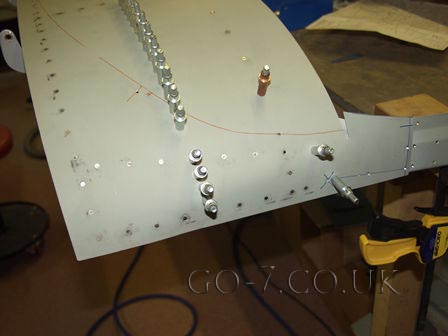
Once off I painted the rear strip, and started riveting the canopy front skin onto the frame.

I did have a short break and discovered my Kit Planes magazine (from US) had finally arrived (July & August came together). Some great artical including one about Mr Vans hinself, Dick Vangrunsven. August had a feature about a 6 seat 400mph kit - only in America hey. The PFA would laugh us out of the office if we ever wanted to build one here in the UK.

The rear window is in. After a few weeks of putting together and taking apart it feels great to know these parts are going in for the last time.

I decided to remake the canopy side panel as I didn't like the originals I made.
The canopy side panel to rear panel joint. The plans show the top being in line.
The frame and front canopy in place ready for perspex.
Canopy perspex.


This shows the alignment of the canopy around the front (left).
This is the oposite side (right).
Canopy front skin to side panel alignment.
Really taking shape.

The masking tape and pen line is to show where the canopy frame is for the paint to go on the inside.
The canopy handle. Small hey!
Paint on the inside of the perspex.

I have painted the frame and the inside of the canopy skin. As this would be very difficult to paint after assembly.

Canopy skin ready for riveting.
Must not forget to install the strut brace brackets - before - riveting the skin on.
These canopy strut screws are covered by the canopy skin.
This is why I painted the canopy skin first. Imagine trying to get the paint in and around these holes.
The other side without reinforcement fitted.
The orange line is the perspex canopy position. I need to spray the top section under the perspex before fitting. Obviously otherwise I would risk getting paint on the perspex, and it would ne near inpossible to get a decent finish.
Finishing tonight. I have completed nearly all the rivets in the front canopy skin, apart from the reinforcement panels.
Pleased with todays work.


Images & text copyright GAPilot & Go-7. This mail is not connected to Vans Aircraft Inc. The contents of this site is the opinion of the author, not Vans Aircarft, PFA, CAA or FAA. Please check all information is correct before you act upon it.