Heading www.gapilot.co.uk

Build Diary 07/08/09-October-05


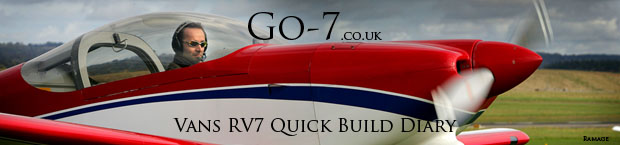
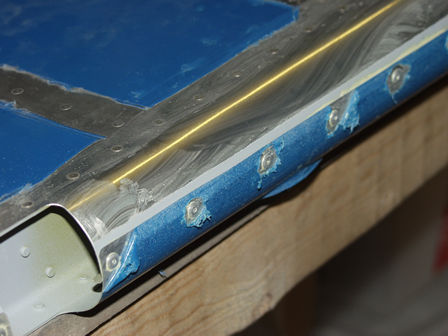
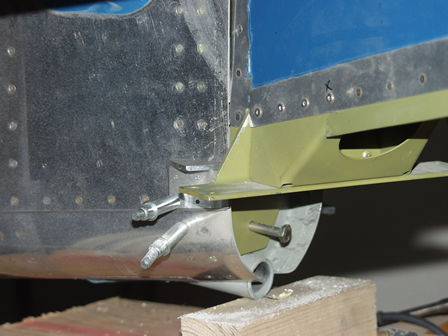
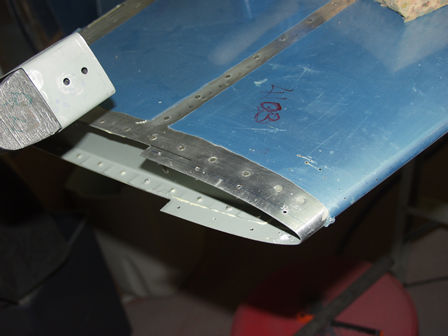
Friday evening, completed rudder leading edge.

Saturday, just a few hours in the workshop. Most spent trying to find the rod ends to fit to the rudder. 
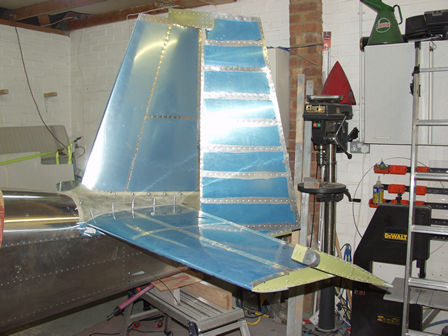
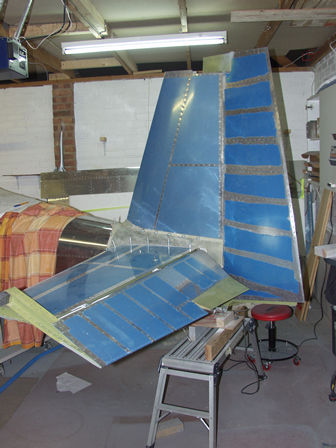
I finally found some so I could fit the rudder for the first time.
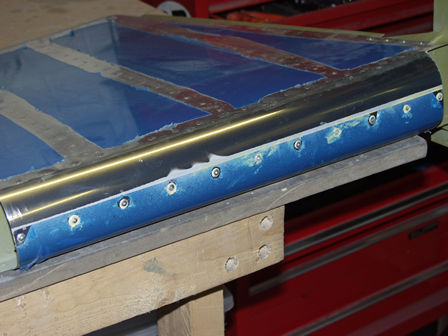
Sunday. Jo is away today so I have spent most of the day working on the RV - just a quick trip to Popham in the 
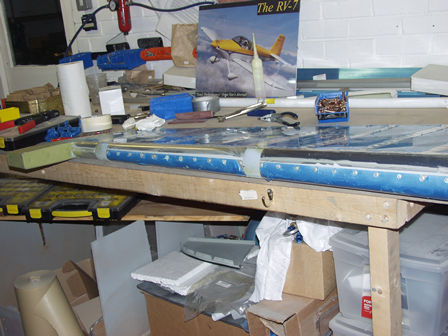
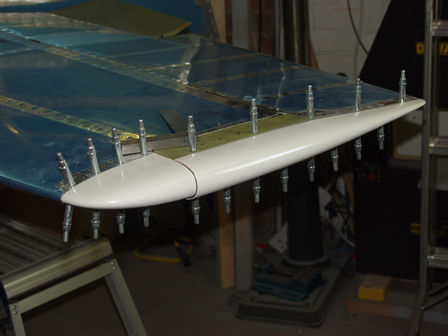
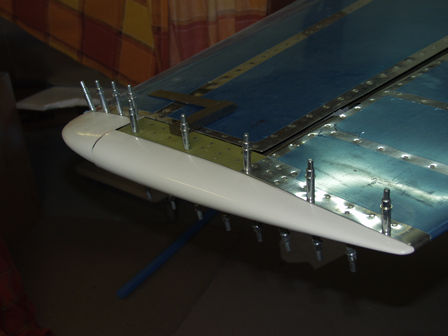
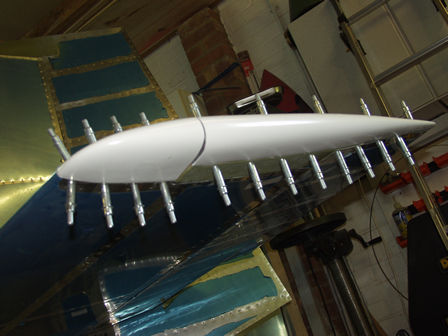
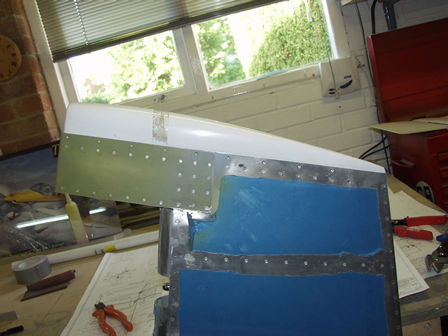
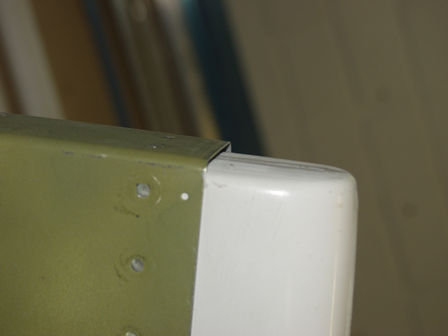
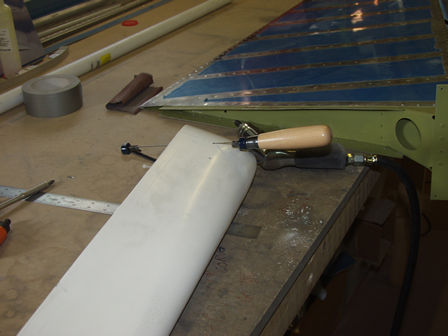
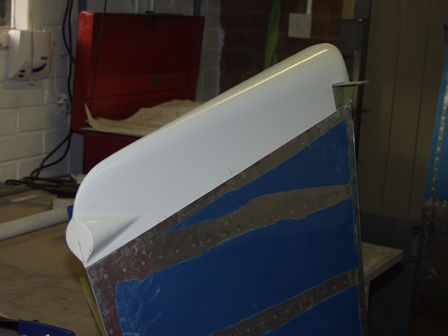
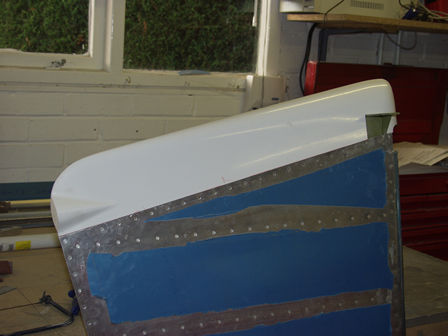
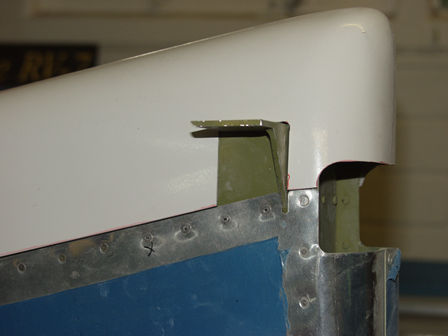
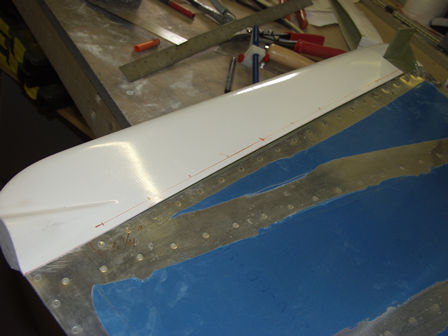
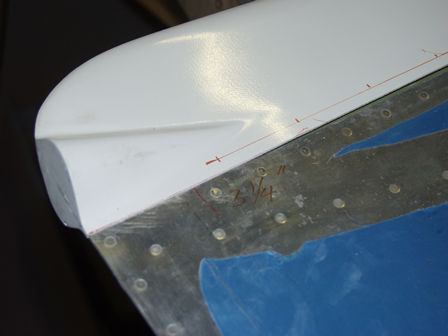
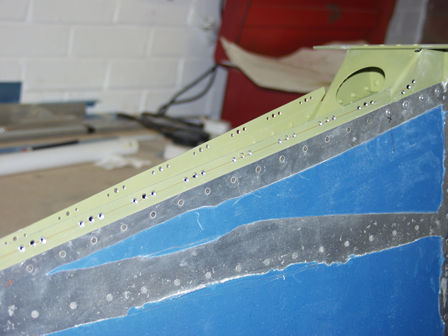
afternoon to look at RV's! I have managed to fit nearly all the fiberglass endcaps to the empannage (Rudder, HS & Elevators). They need some filler to finish but its been a good days work. I have heard some builders leave these as they are not much fun. I thought they went 
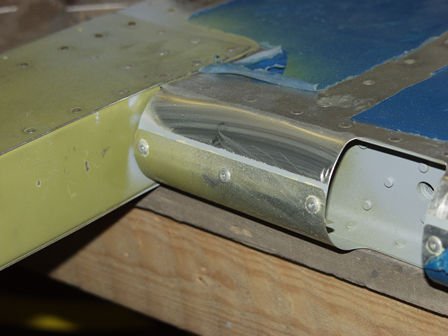
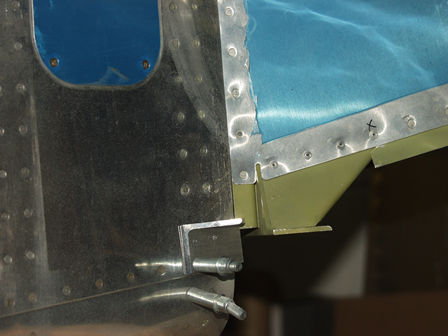
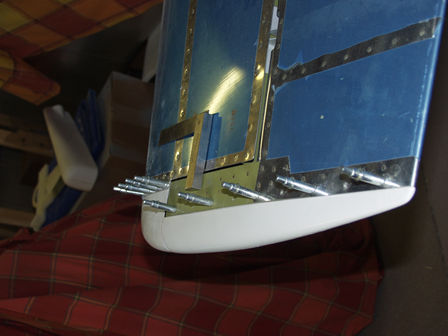
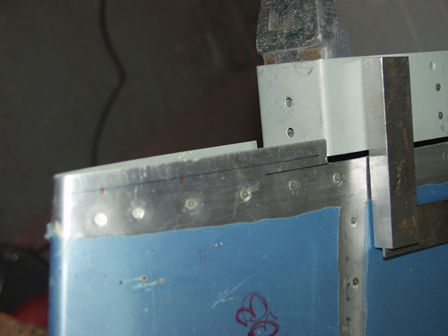
quite well. ** RV7 needs to have the skin trimmed for the mass balance weight to fit, did give me a shock at first - thought I had done something wrong.

I primered part of the panel going under the other and fitted the blind rivets with JC5.
The rudder leading edge complete. It's very hard to pull round on your own. So Jo came out and helped me complete this tonight.


I am pleased with the overall finish.
Saturday, Rudder fitted after looking for the mounting rod ends for age's.

Rudder stop being fitted.

Sunday. I decided it was time to make a start on the fiberglass finishing. First the HS end cap. This needed lots of trimming, and the HS skin needs to be trimmed. So did the elevator end cap. This will need filler on the end.
The fitting went quite well.

There will be filler on the end of the elevator, and the HS end cap will be filled in.
Cap fitted to top of rudder.
It's slightly short, this will need a little filler.
The other side of the HS. Marking out the positon of the holes.

Bottom of rudder. Here I am starting to cut it out.
There was some time between the previous picture and this one!!!!
After quite a bit of work I am pleased with the fitting of this part.
Some builders have filled in this part (the green area almost in center of picture). I may to later but at this time I have decided to leave it as it is.
Other side of rudder. Dusty hey! You should see my bench. While working on this I have a dirty bench and a clean bench. All the cutting and filling happens in one area, this makes it easier to clean and avoids contamination of important parts.
I have decide to screw the lower part of the rudder on. Some builders use blind rivets. however I will have a tail light, so I will need to get access to the electrics.
The first screw is 3 1/4" in from the and, as the fixing metal dose not go all the way to the end. Also I have offset the to end screws as both sides are very close and the screws would colide internally. I will also have very little access to fit the nutplates
Drilled ready for nut plates.

Images & text copyright GAPilot & Go-7. This mail is not connected to Vans Aircraft Inc. The contents of this site is the opinion of the author, not Vans Aircarft, PFA, CAA or FAA. Please check all information is correct before you act upon it.