|
 |
|
|
Fitting the Canopy - Front of CanopyThis is proberbly the most talked about and stressfull part of the build - cutting the canopy plexiglass. Here are some pictures and how I cut mine. There is a lot of talk about cracking etc. I feel the age of the canopy has a lot to do with it, has the canopy come from Vans in the last year or has it been sitting for a number of years. |
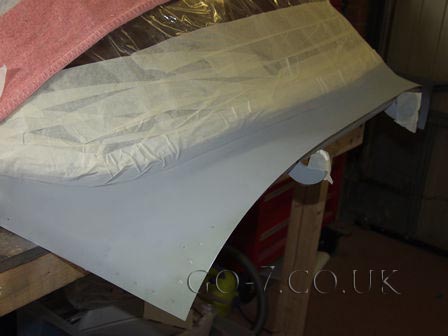
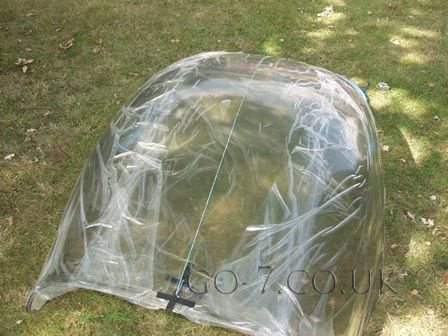 The canopy as it comes from Vans. It is quite a bit larger than required. I have kept the protective
cover, and marking out a centre line.
The canopy as it comes from Vans. It is quite a bit larger than required. I have kept the protective
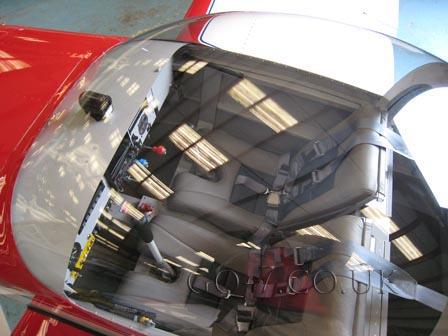
cover, and marking out a centre line.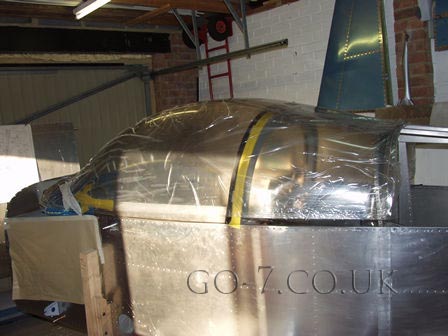 Put the canopy in place - takes two people!
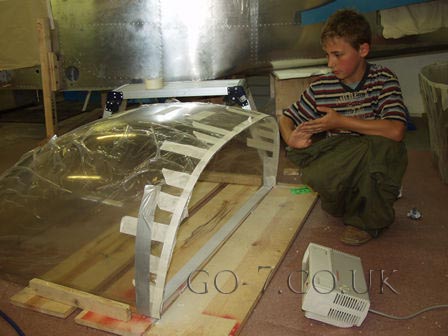
 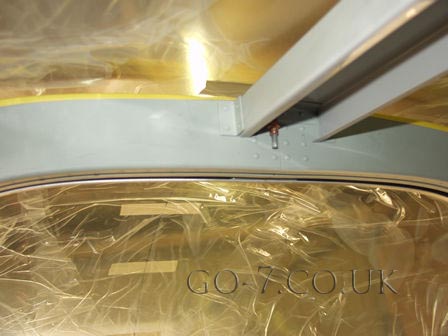 When trial fitting the canopy needs to be within 3/4" of the roll bar, otherwise the markings will be out.
 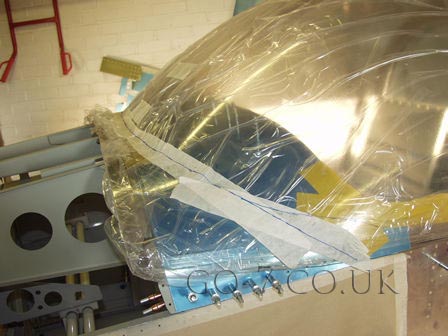 Triming the front of the the canopy to make it sit lower on the front skin. The side is not so important as I will trim it more later. This makes it fit better at the rear over the roll bar.
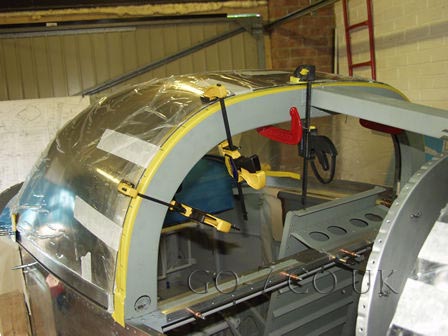
 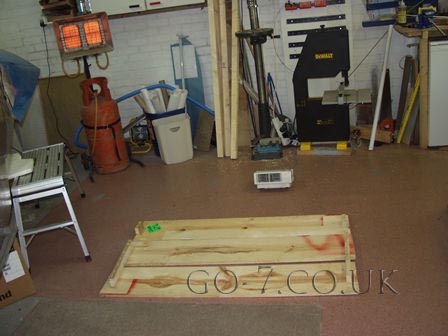 When cutting the canopy in two it needs to be fully supported and the workshop warmed up to keep the canopy flexible and not crack. Here I am supporting the sides to avoid them spreading. Before starting work on the canopy I headed the workshop, it was July and very warm outside (about 21c). I put my double burner heater and an electrical heater and got the temperature up in the workshop. The canopy was quite supple and flexible - I kept the electrical heater blowing inside the canopy while cutting.
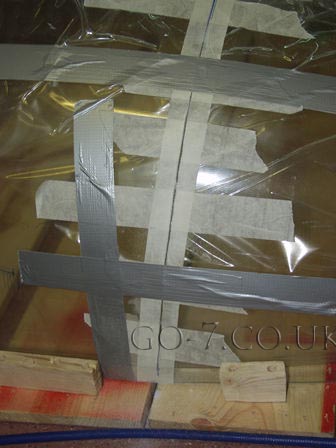
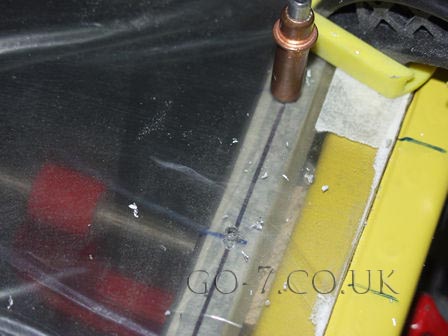
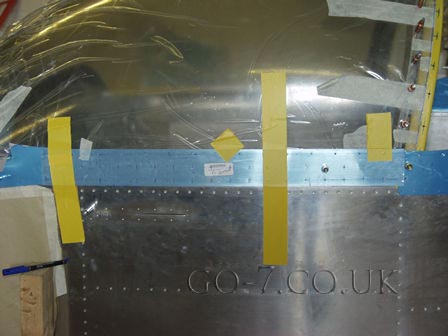
I put masking tap round the canopy were I was going to make the cut. I was then able to mark the cut very clearly.
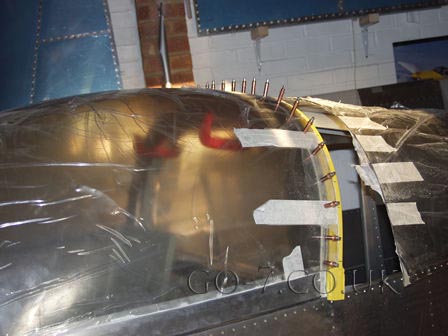
Here you can see how I have supported the canopy both sides of where the cut. I started the cut from the bottom and worked up about 24". I then stopped and used gaffa tape (silver in picture) to hold both sides together. I did this all round to keep the sides together to avoid stressing the cut as I went round.
 The cut complete, all through the process the workshop and canopy was kept warm, well very hot! Look at Aleix face!. After cutting I ensured there were no chips or sharp edges on the cut - so that any movement would not introduce cracks.
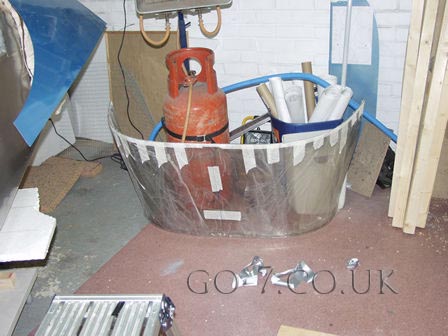
Rear window put to one side for later.

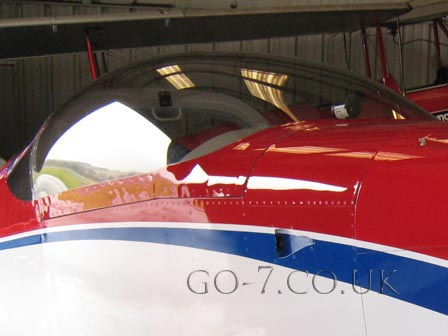
Front part of the canopy back on, now with it sitting back on the roll bar the alignment is slightly different.
After 'the cut' I trimmed to fit the front of the canopy. Trimming from the front center to the side.
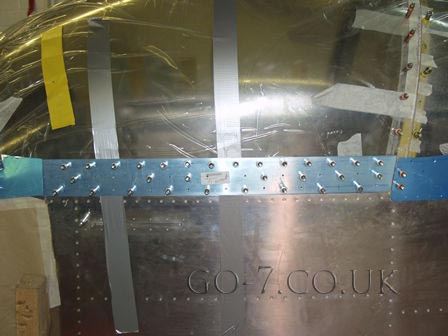
 I have clamped the rear of the canopy in the final position. Now I am marking the sides.
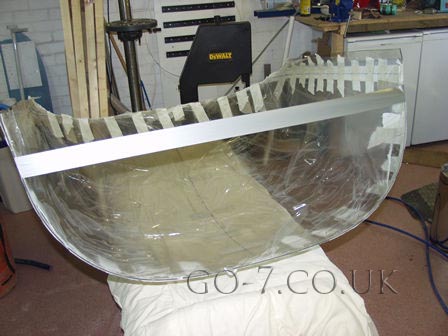
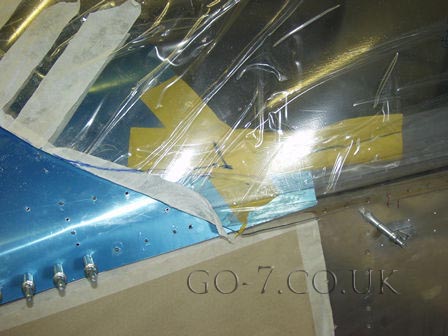
Cutting the sides. I used some gaffa tape to stop the canopy spreading.
Having cut the side I refitted and clamped - checking again the position. Also ensuring the side was flush and in position.
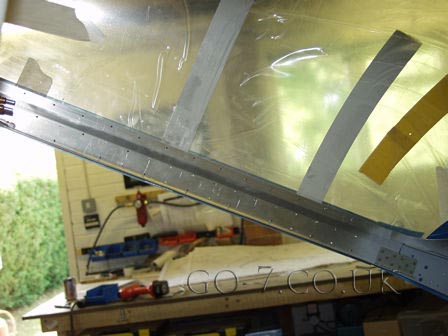
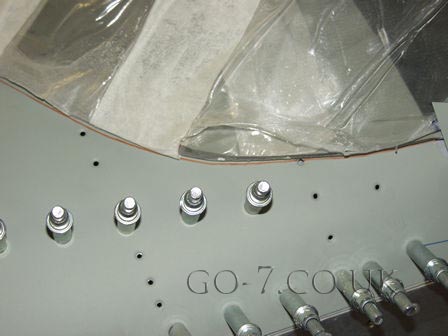
Finally when I was happy with the fit I started drilling the screws. I drilled the holes in the frame first as I could then fit a clico straight away after drilling the hole. Before the next........
 Rear of canopy drilled 1/8".
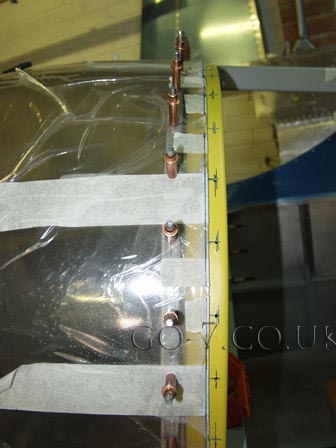
After fixing I made a final trim adjustment to the rear.
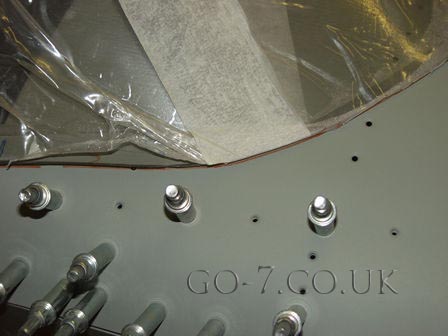
 Here I am fitting the side - not drilling through the copy plexis.
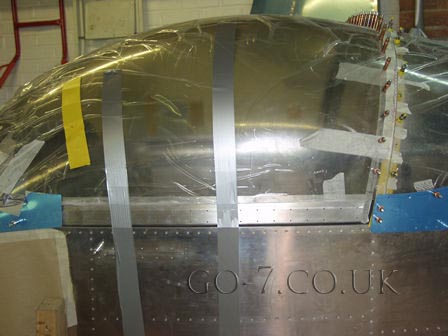
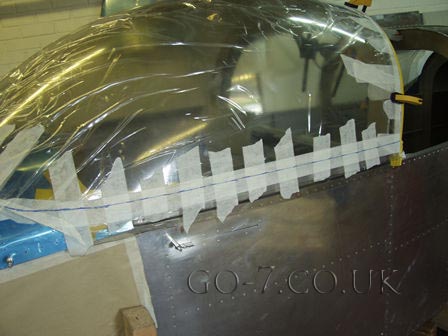
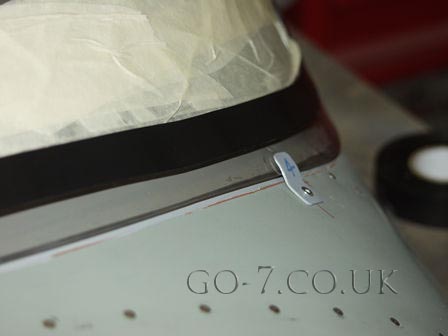
The tape is to pull the canopy down into the frame.
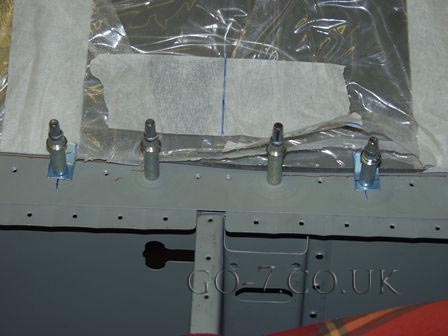 These are the optional (shown in Vans Build Manual) tabs.
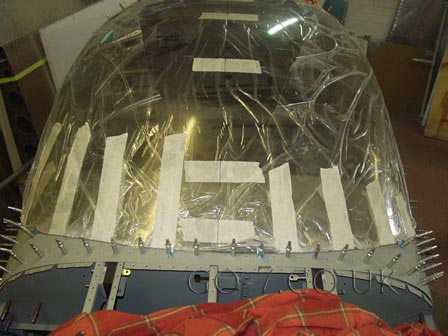
The red lime is to show the plexi position, as I need to paint the inside before fitting the canopy to frame.
 I painted the canopy frame before fiting the plexis.
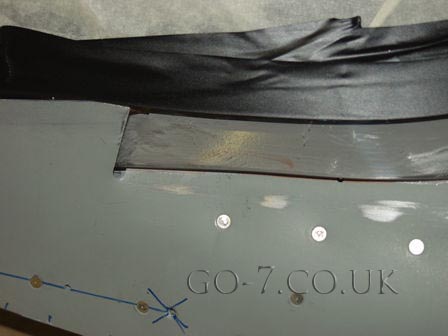
 The black is multiple layers of electrical tape.
Bonding the canopy to frame with West Systems resin mixed with some microlite. I squeezed it under the canopy to create a bed. For the canopy to sit in.
 After the bed under the canopy I applied three separate layers of fiberglass tape.
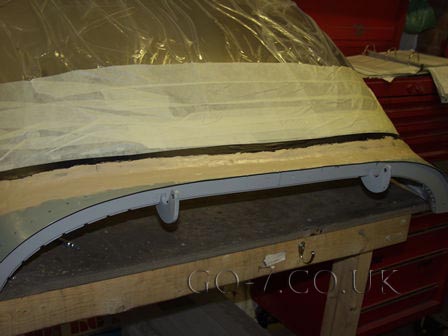
After the fiber glass I applied West Systems resin with microlite.
 Rubbed down and primed.
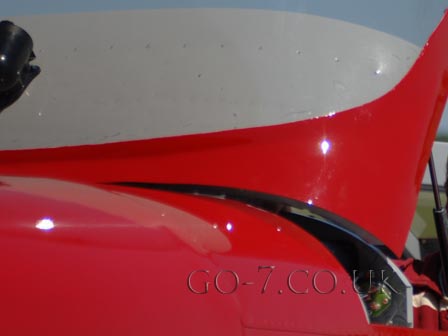
The finished result.