Heading www.gapilot.co.uk

Build Diary 11/12-November-05


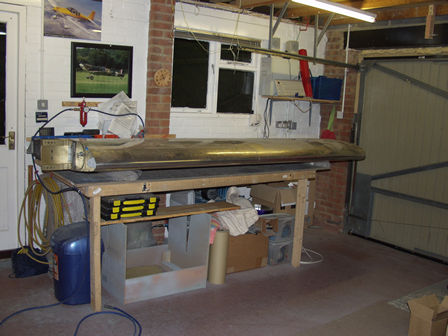
Friday - Jo (she is the best) helped put the left wing on the bench as I need to complete a few small jobs on it. I had intentionally left these tasks as fill in jobs while waiting on something else - hence I have decide 
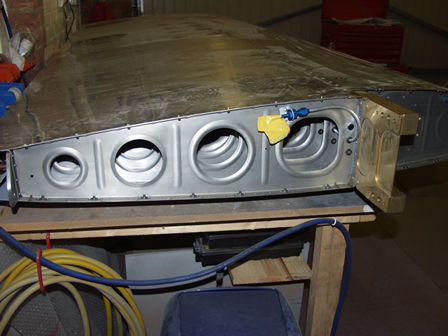
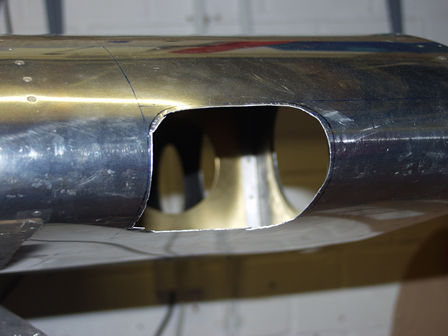
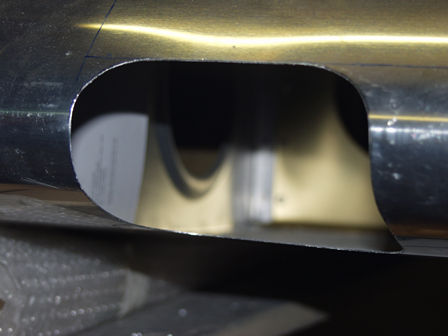
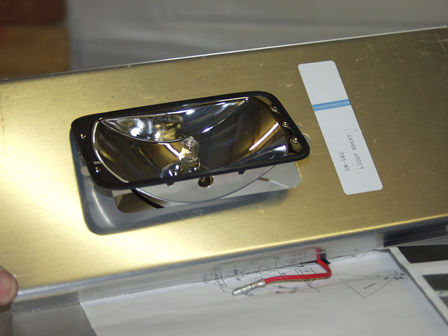
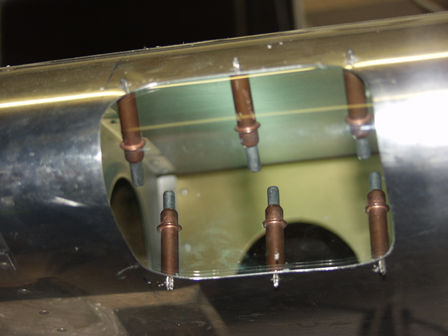
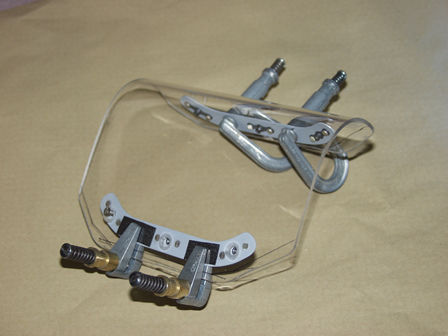
to wait for the firewall forward kit to arrive from Vans before continuing with the fuse work. I had been given a Duck Works 
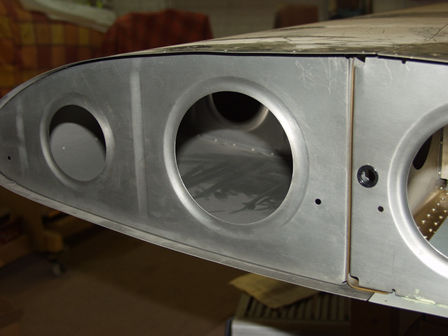
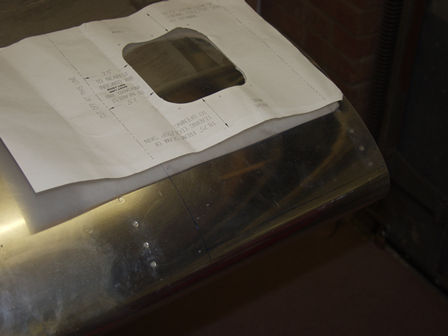
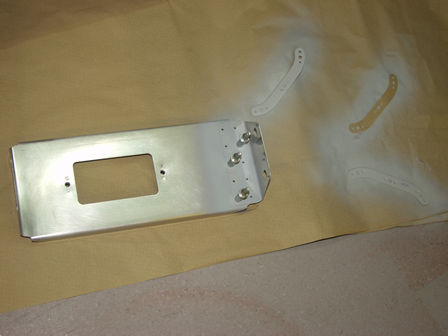
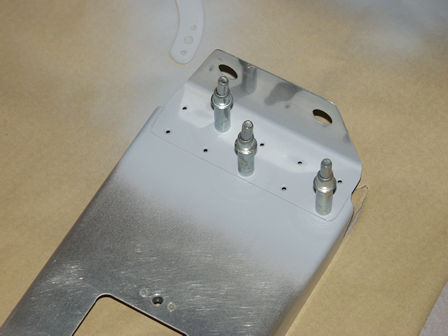
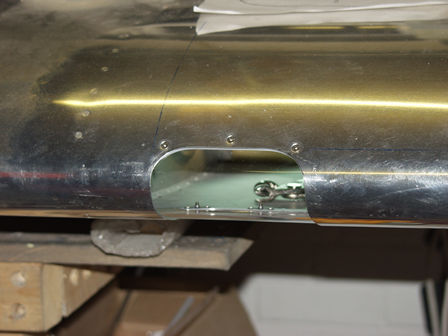
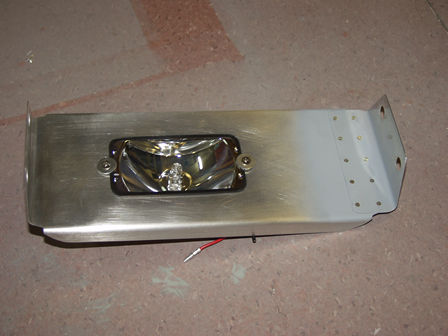
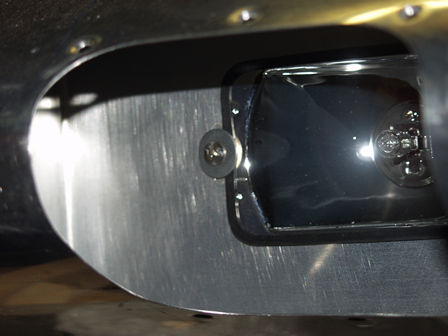
landing light by another builder and finally decided I would fit it. Vans have brought out a landing light kit to fit in the wing tips, but it appears to not fit well with the strobes in the tip as well.

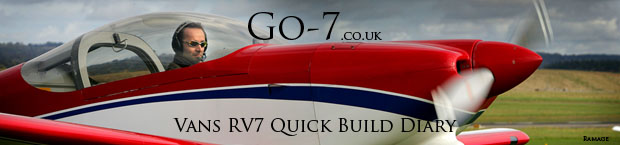
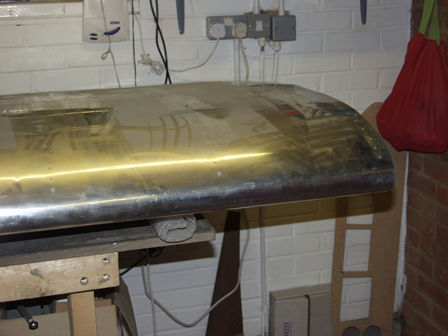
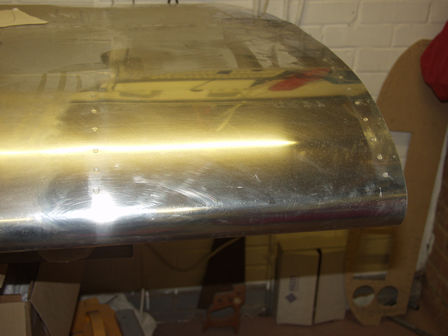
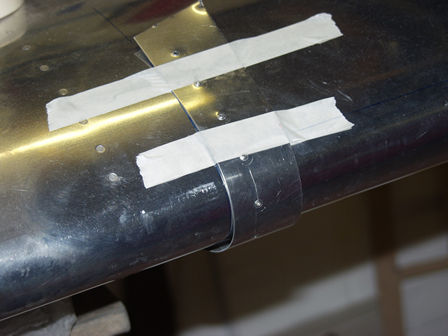
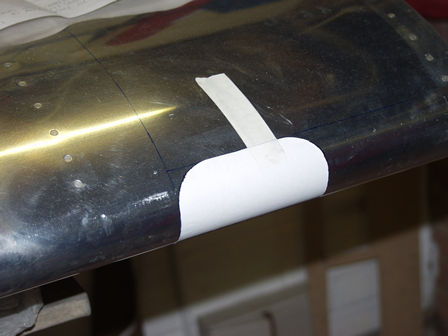
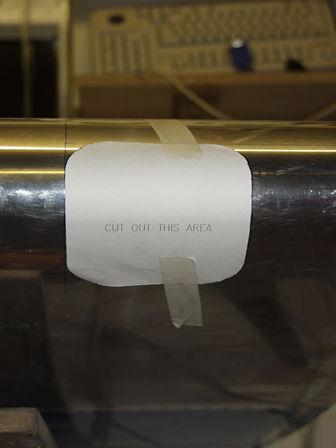
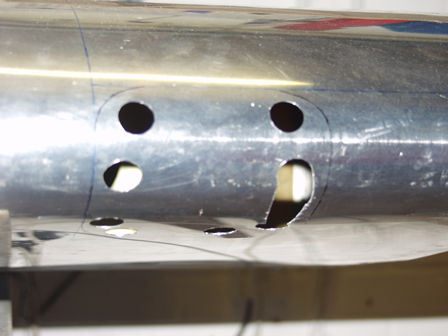
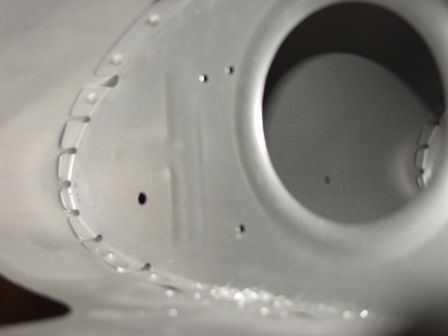
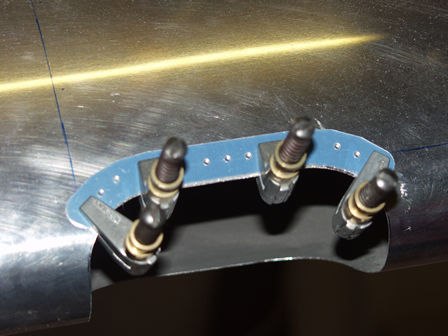
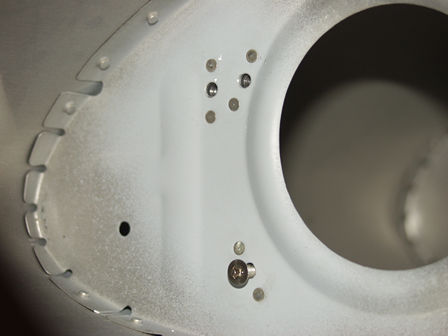
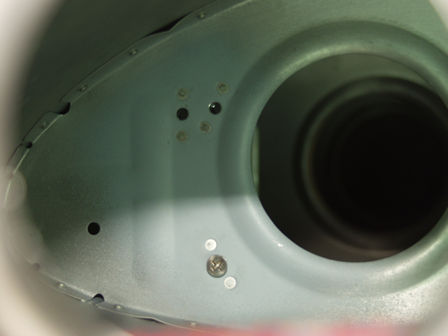
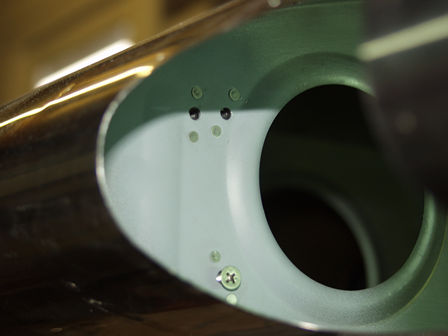
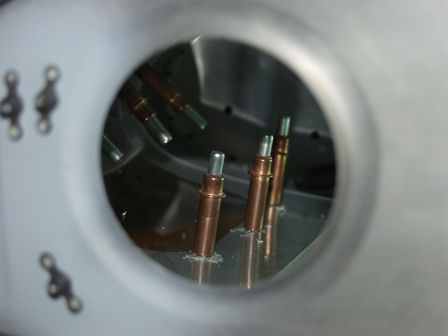
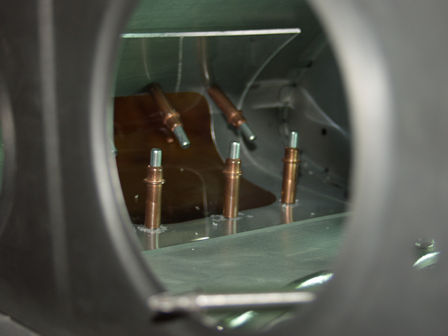
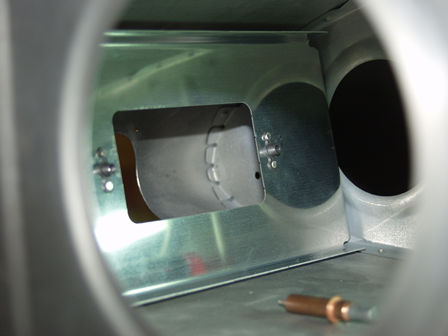
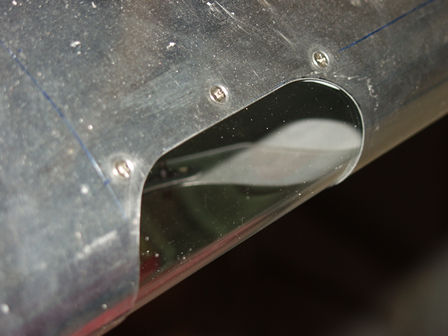
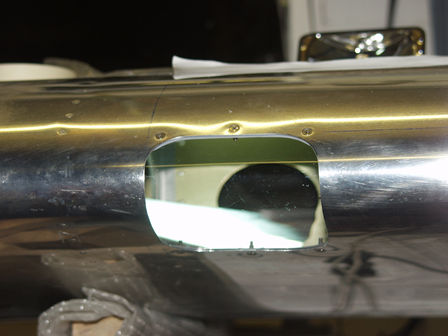
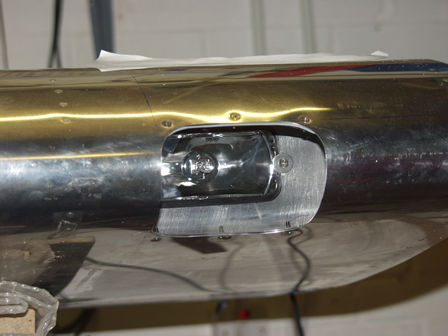
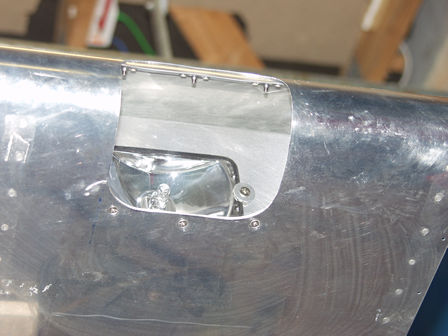
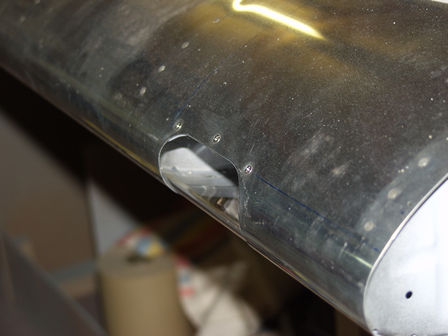
Saturday, I finally plucked up the courage to drill into my wing - It had to go right because the damage would be very hard to correct!

The nutplates are fitted top and bottom skin.
Fitting the nutplates around the wing was hard as they are dimpled. I had to take great care not to damage the seal around the fuel tank.
This is my solution for the pitot to fuse. I have fitted a pipe fitting - so the pitot line will continue as flex pipe. I could also change my mind and fit a bulk head fitting and countinue with the ali pipe

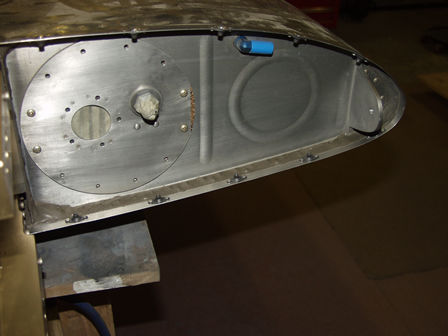
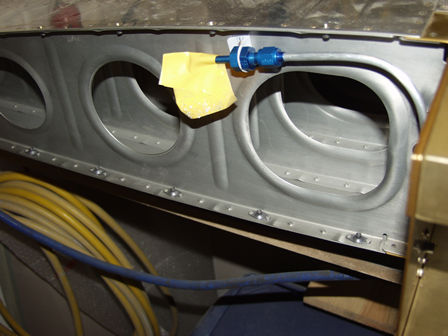
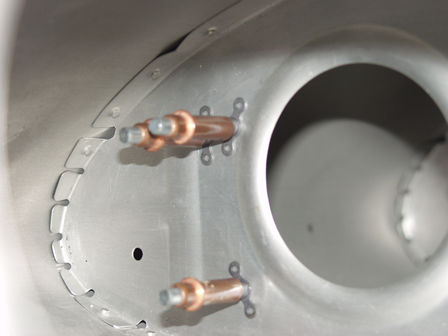
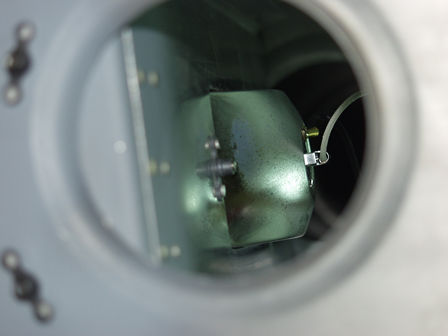
UPDATE: OR I could as I did! Remove this pitot line and fit fully flexible pipe from pitot to instrument panel.

Also tidied the workshop Friday - Jo even commented when she came into help lift the wing. She is great came out and helped as soon as I asked.
The landing light goes in the last bay.
Umm, nice unmarked wing skin!!!
The plan - read it 10 times. Which way up?
The plan said 2.5" from the rivet seam. As I didn't want to bend my ruler around the leading edge to draw the line I used some scrap metal.
Here I decided to tape the section to cut out on the panel rather than the other half of the plan.
Well it's aligned. I have drawn around it. What next?
Slightly blurred this picture - perhaps I was shaking having just cut a load of holes in my nice wing?
Ahh, I have a big hole in my wing!!!
A tidier hole now...
This is a cardboard template to drill three holes - A, B and optionally C.
This is the back plate and landing light.... well actually it's a car spot lamp that I took to bits!
Three holes drilled - what is it with blurred pictures!
More holes in the skin. This time to hold the lamp lense in place. ONLY drill the middle hole for the screws. The others are for the nutplates on this part (blue) that fits behind the lense.
Drilling the nut plate holes for the lamp holder/back.
Look I use solid rivets. The kit was supplied with blind rivets - but I have a small squeezer that would fit in the wing.
I also put some primer where I had drilled holes.
You can tell I am pleased with the way it's going as I have taken lots of pictures. However I appear to have not taken any pictures of the other rib. So you will have to trust me - anyway it was the end rib and easier to fit the nut plates to.
Lense in. I have plexiglass drills so I used those in a slow battery drill.


As you can see here the lense is big and needs trimming.
My trim marks. I have decided not to trim any off the sides.

Lamp holder fitted into wing.
The lamp lense holder comes in two parts. I have primed the joint only as I will paint it all later.
I used Ad3-3.5 to fix the two parts.
Trial fit of the lense with screws.


Lamp lense fitted to holder.
Lamp fitted in wing.


The two plates need to be stuck to the lense, as you can't hold them in place when fitting.
All fitted. Approx 7 hrs to fit.
View from below.
I will be removing and painting the lamp holder and the wing cavity later.

Images & text copyright GAPilot & Go-7. This mail is not connected to Vans Aircraft Inc. The contents of this site is the opinion of the author, not Vans Aircarft, PFA, CAA or FAA. Please check all information is correct before you act upon it.