Heading www.gapilot.co.uk

Build Diary 20-November-05


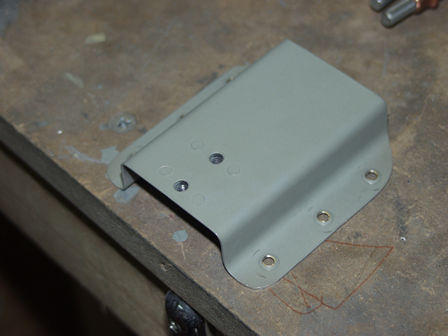
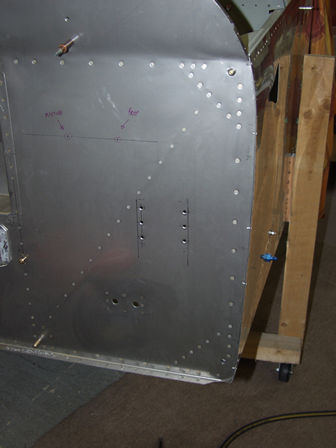
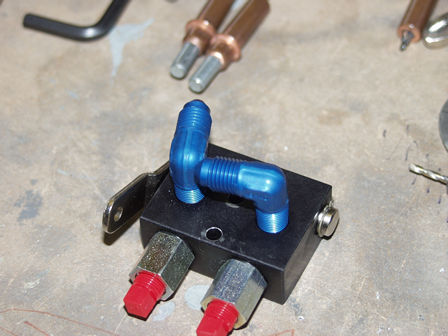
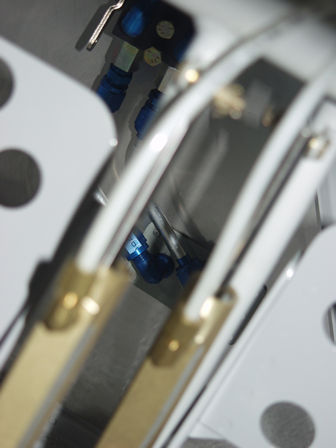
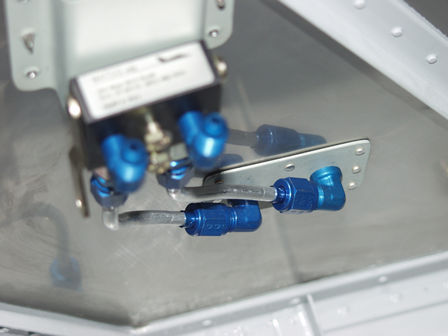
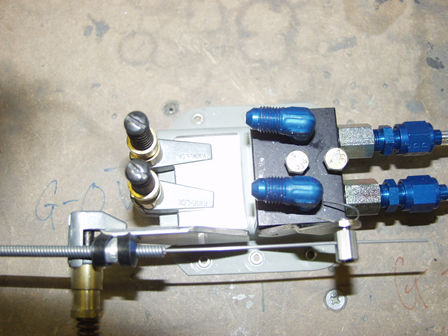
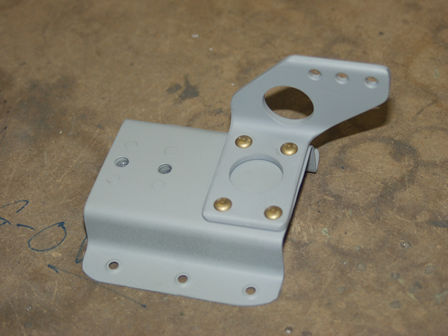
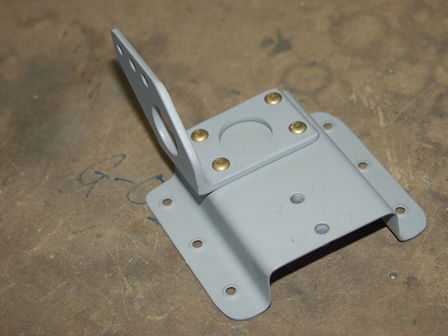
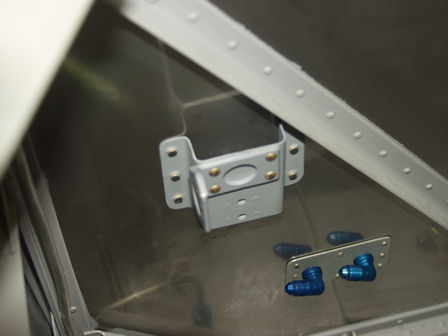
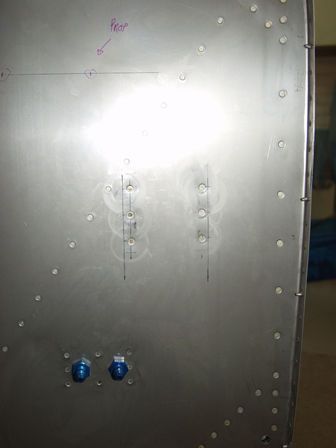
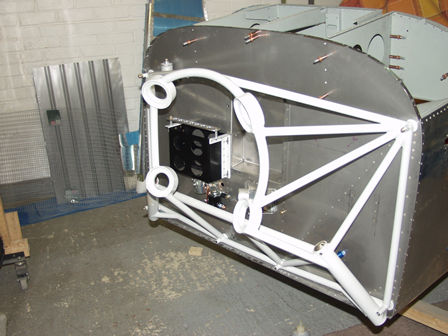
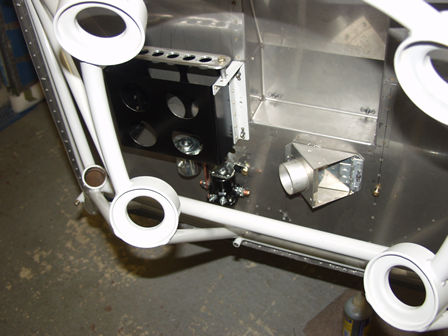
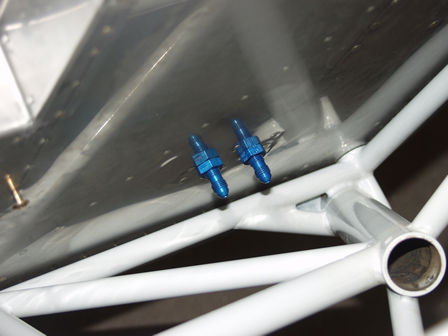
Today I decided to complete my parking brake. I have already made the bracket but needed some brake line parts to continue - so it was shelved for a while. The parts arrived with the firewall forward kit. As it's being mounted on the firewall and the brake lines come through the firewall I figured it was as good a time as any to finish the job. Even though I say so myself I am pleased with what I have done.

The bracket I made from some leftover material, from the instrument sub-panel canopy release. This will be riveted to the firewall with AN4-4's.
The six holes show the position I have decided upon for the park brake.
The view from the inside.
First problem, the 45 degree brake fittings cannot be fitted on together!! You need to set one at the correct position and file a very small amount off. Not part were the brake line fits!!
It's hard to photograph around the pedals! The pipes come out the bottom to the brake line joints throught teh firewall. One line was 4 1/4" long the other 4 3/4".
Why this position? Some other builders have positioned the parking valve higher up the bulkhead and on the center rudder pedal brace. I decide on this position: Being lower, after the top skin is fitted it will be easier to view and service the parts, and visually check for leaks. Also the control cable will be easier to route to avoid tight bends. Having the brake valve lower down the fire wall also enabled me to still use the existing flexible brake pipes - avoiding having some new ones made.
A control cable needed to be added to the bracket. The firewall kit had some cables in for the heater control, so I used this as a sample while building my bracket.
This is a "sturdy" piece of angle. I used this as I want to ensure the control cable is held firm. After all I don't want to be stuck with my parking brake on.

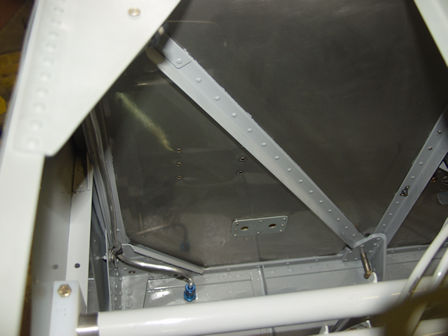
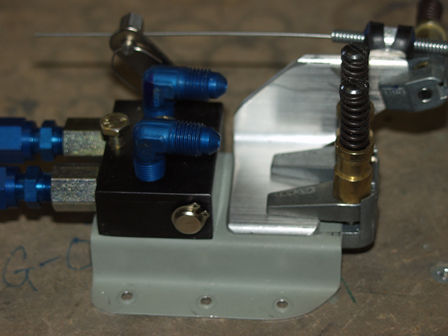
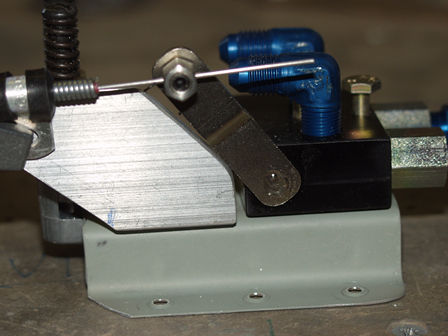
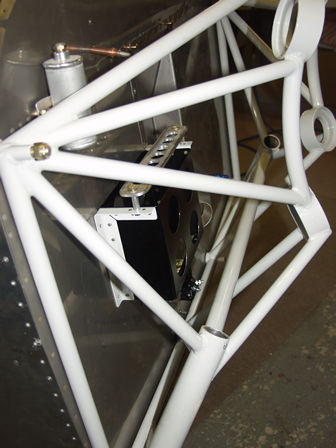
This is the off position. The control cable is pushed fully in.


This shows the brake ON position. The valve will allow far more travel than needed. So I have used part of the angle bracked as a stop position. As seen here.


The bracked is riveted with AD4-6's. I have also drilled some lightening holes, and three positions for the cable clamp. I have not fitted nutplates as I want to use a nyloc nut and bolt. I may also need to change the cable clamp if it starts to slip.

Bracket riveted to the firewall. I have just sprayed it in grey primer.
Nice and tidy on the firewall.


Images & text copyright GAPilot & Go-7. This mail is not connected to Vans Aircraft Inc. The contents of this site is the opinion of the author, not Vans Aircarft, PFA, CAA or FAA. Please check all information is correct before you act upon it.